1. Documentation
1.1 Getting Started
- All asset classes you need to work with are contained in the
Nav3D.APInamespace. - In the playmode, Nav3D will create several MonoBehaviour objects on the scene that it needs for internal use.
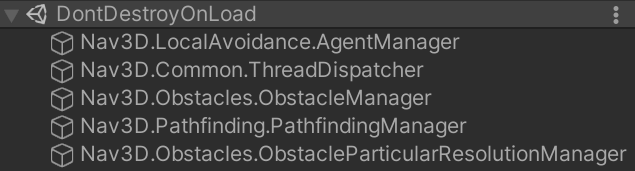
These GameObjects are created with the DontDestroyOnLoad flag. Saving managers when loading another scene can be useful if, for example, you use a separate loading scene in which you initialize Nav3D.
- Movement of agents (Nav3DAgent) executes inside the FixedUpdate event
- All time-consuming computational operations are performed on the CPU outside the main thread.
- All callbacks provided in the Nav3D API are executed in the MainThread.
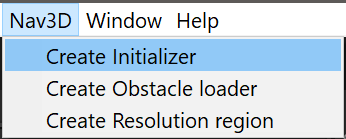
1.1.1 Nav3DInitializer

1.2 Dealing with Obstacles
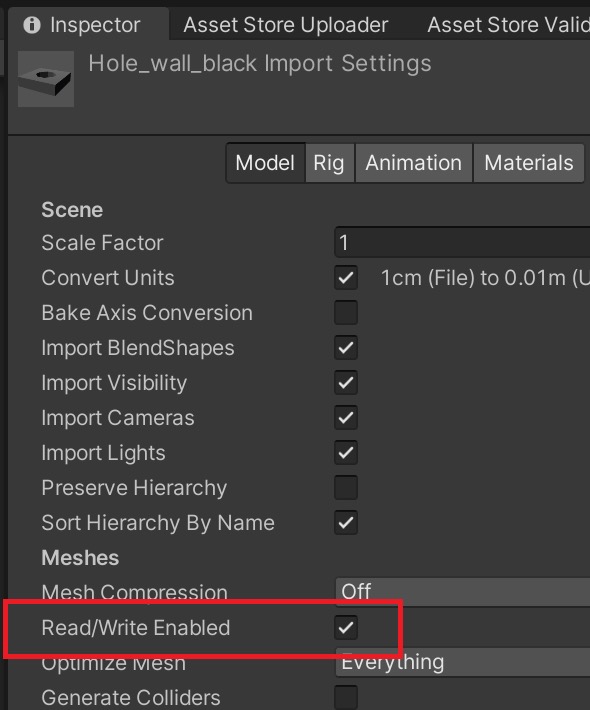
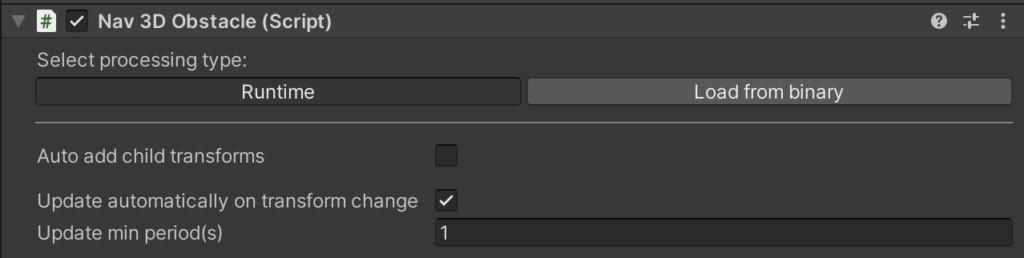
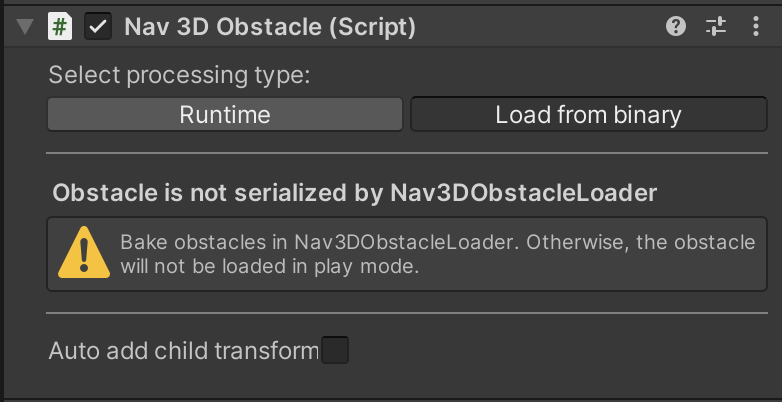
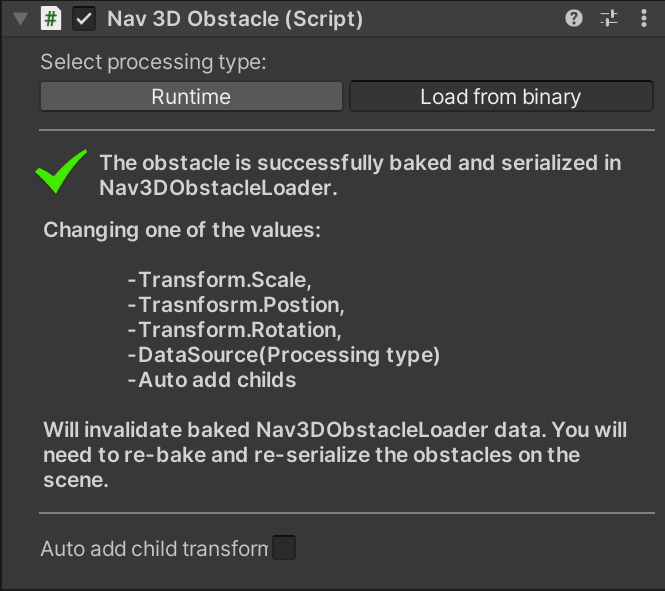
1.2.1 Nav3DObstacle
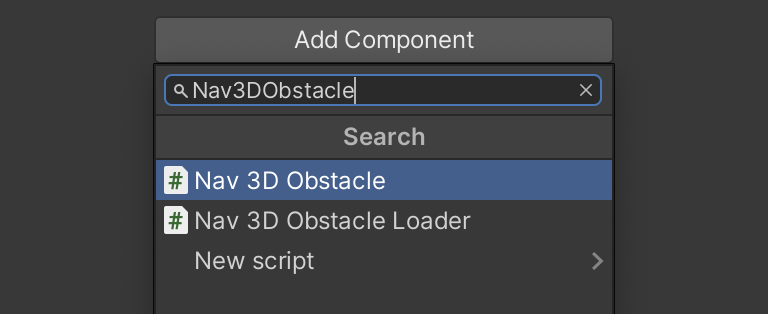
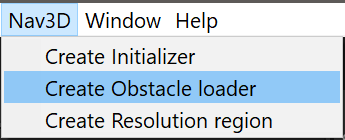
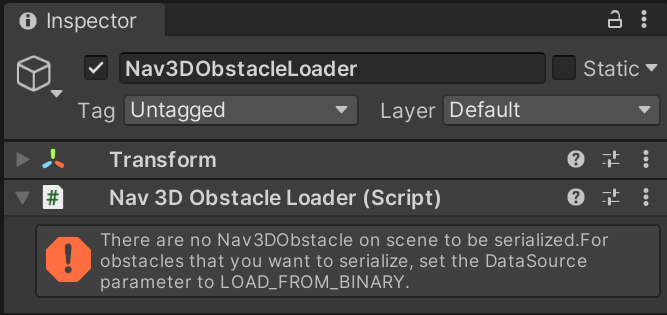
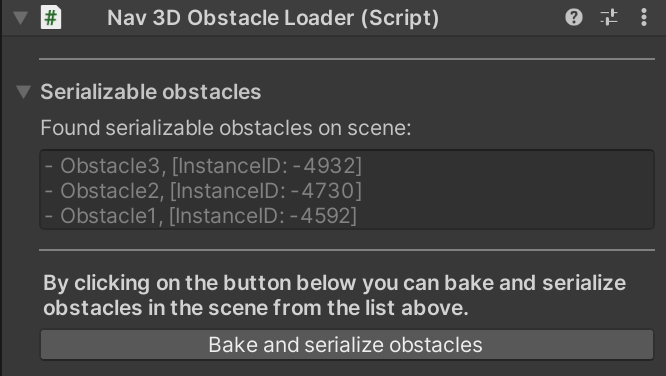
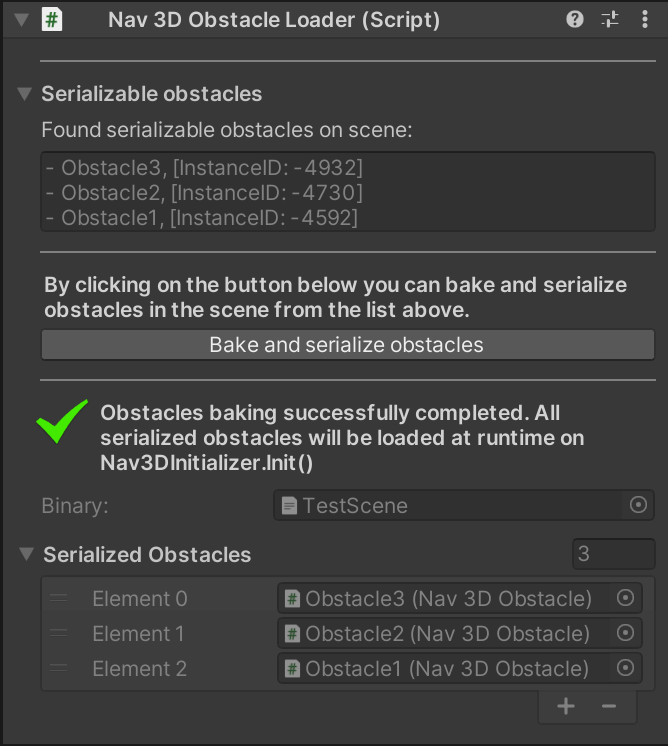
1.2.2 Nav3DObstacleLoader
1.2.3 Deeper dive into obstacles
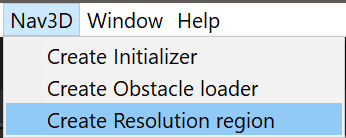
1.3 Particular resolution regions
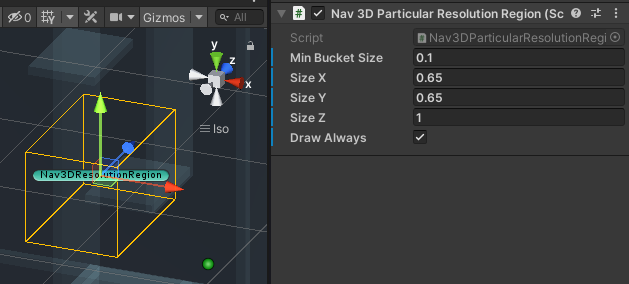
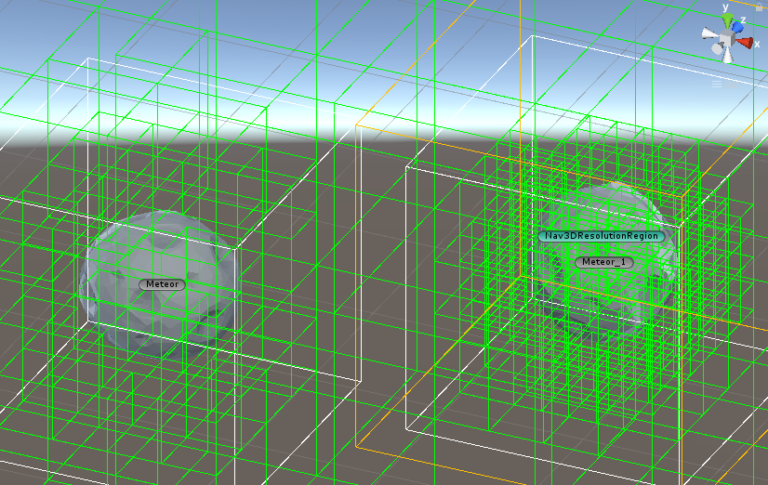
1.3.1 Nav3DParticularResolutionRegion
- All asset classes you need to work with are contained in the Nav3D.API namespace.
1.4 Path object
1.4.2 Pathfinding
1.4.3 PathfindingError
1.4.4 Path : Properties
1.4.5 Completing dealing with the Path Object
1.4.6 Usage example
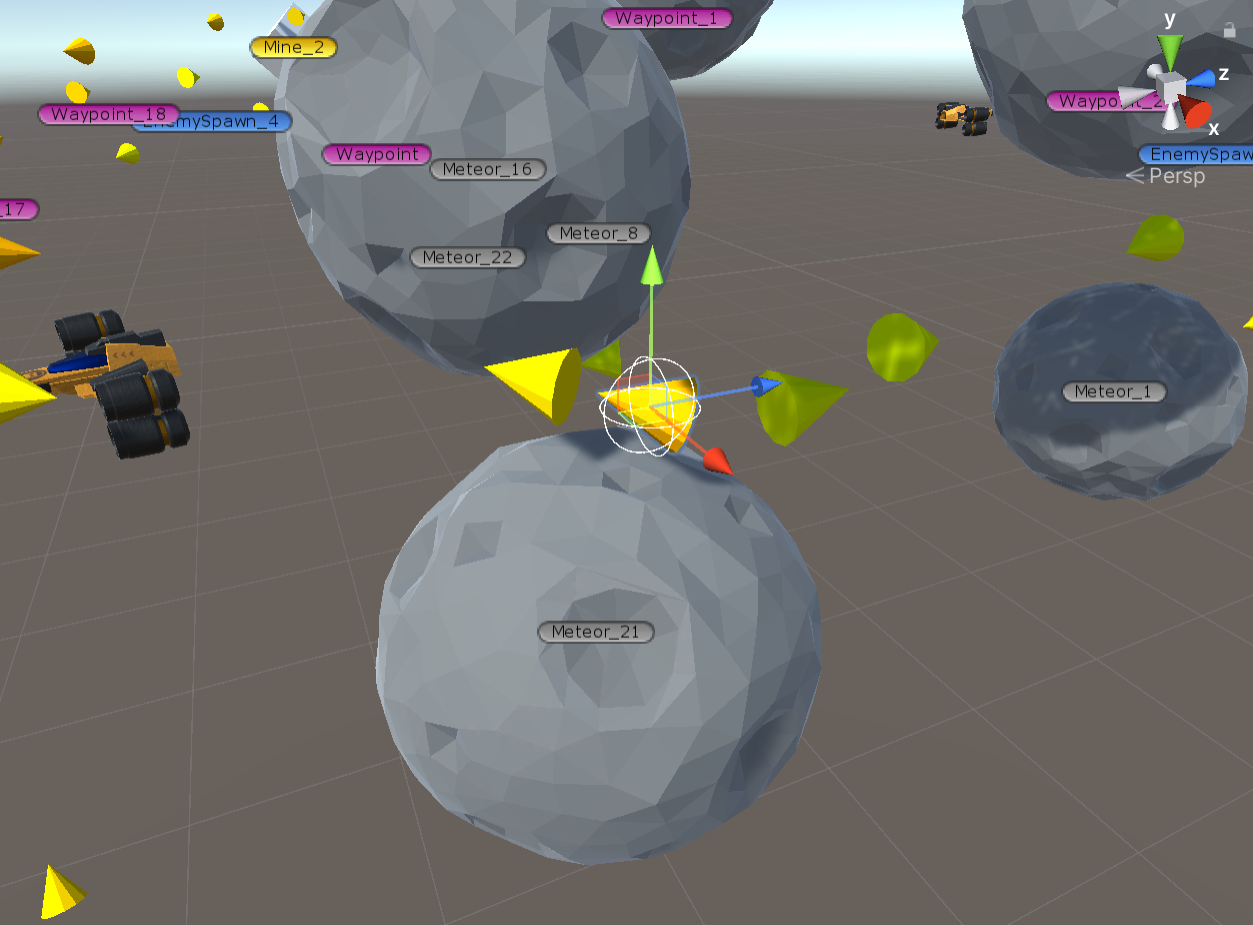
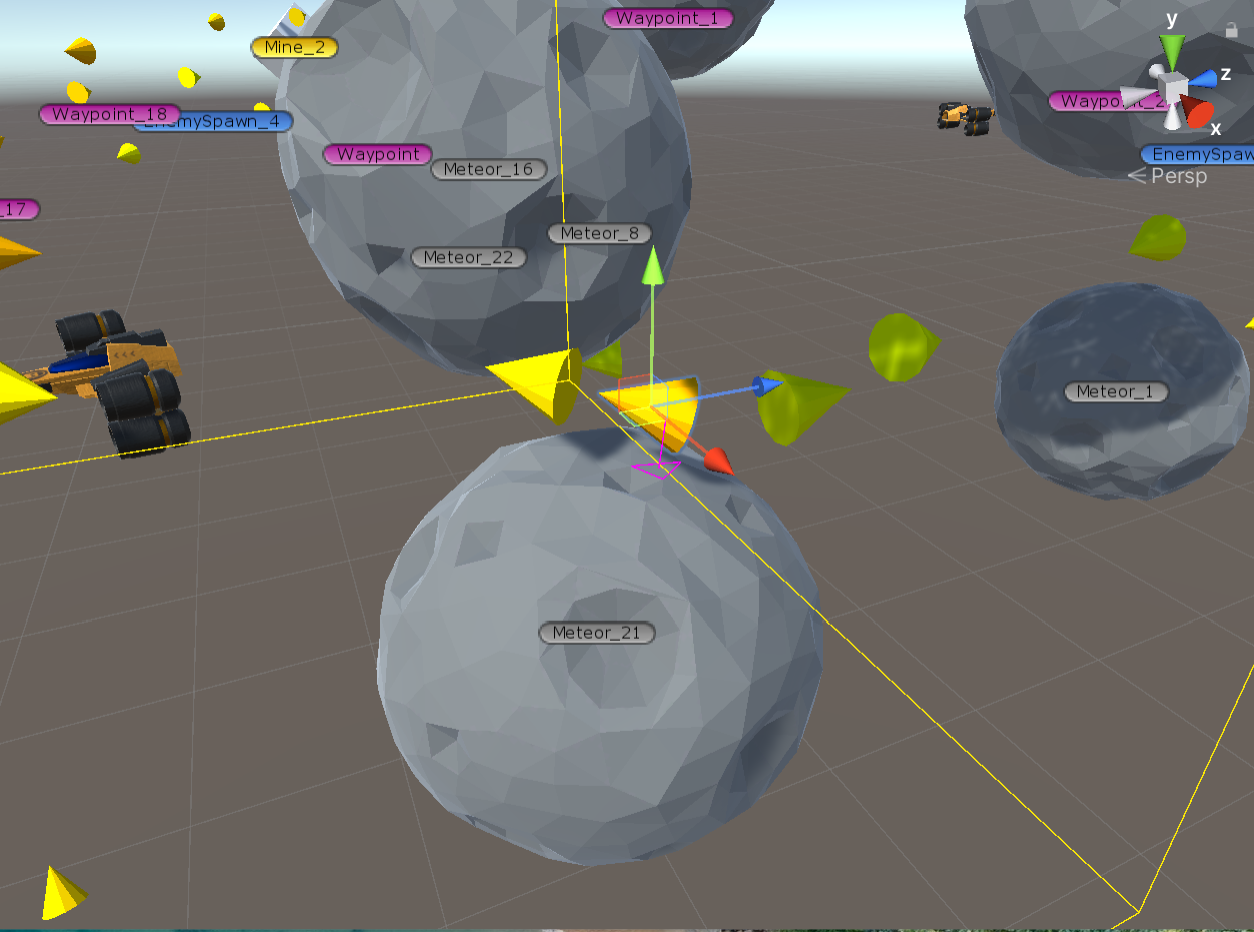
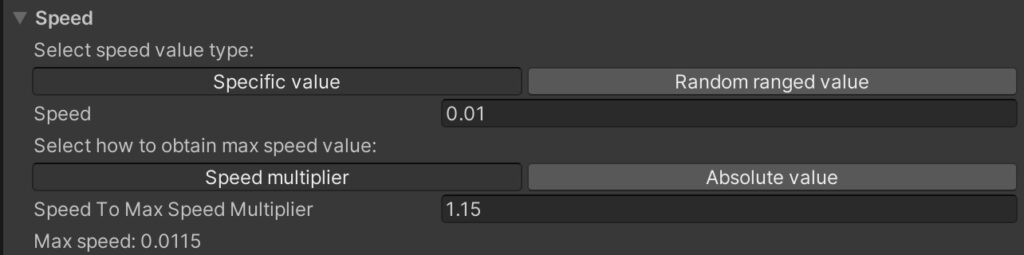
1.5 Agents
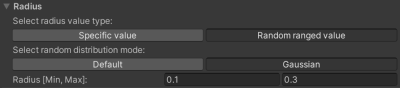
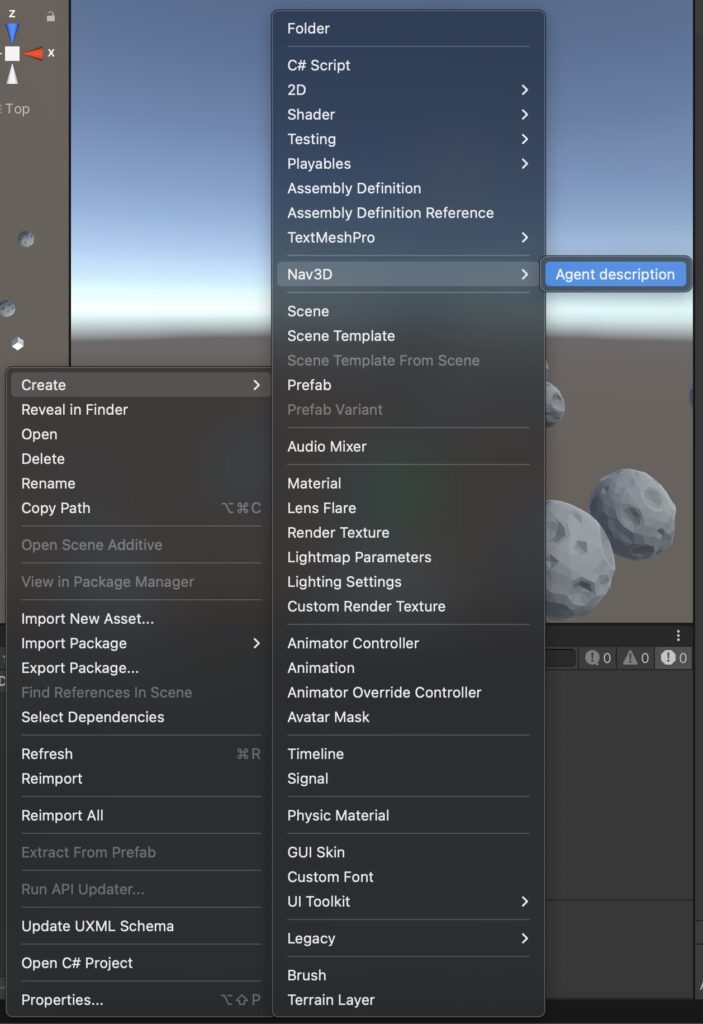
1.5.1 Nav3DAgentDescription


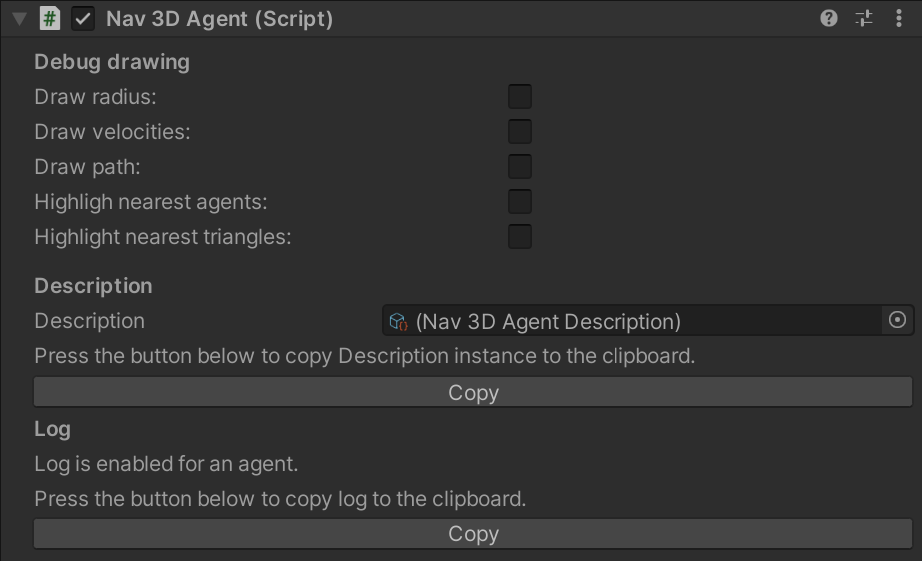
1.5.3 Nav3DAgent : Debug